
How to Print System Reports in PowerSchool
PowerSchool SIS users have a variety of form letters and reports at their disposal to aid in the distribution of vital information to parents and students. These form letters and reports can be found under Reports – System Reports.
- From the PowerSchool SIS Start Page, use the Students lookup tool to locate and select the student(s) for which you wish to run the report
- You will now see that the Current Student Selection has been updated to include only the selected student.
- With the student selected, click on Group Functions (denoted by a down arrow directly underneath the School column from the Current Student Selection) and scroll to select Printing – Print Reports

- There are multiple settings on this page:
- Which report would you like to print?
- Select the title of the report you wish to run
- For which students?
- The student previously selected will appear in this space. No changes to this are required
- In what order?
- Alphabetical
- By grade, then alphabetical
- Which report would you like to print?
- By period class, as of this date: (select date)
- This takes extra time
- If printing student schedules, use…
- Courses actively enrolled in during current term (excludes dropped courses)
- All courses enrolled in during current term (includes dropped courses)
- Enrollment as of (select date)
- If printing fee list, only include transactions conducted during…(may be overridden in report setup)
- Current School Year
- Current Term
- Current Date
- Date Range
- Watermark Text
- Use dropdown menu to make your selection
- Options include
- Draft
- Confidential
- Unofficial
- Copy
- File Copy
- Final
- Internal Use Only
- Preliminary
- Private
- Proof
- Sample
- Custom
- Watermark Mode
- Overlay
- Watermark
- When to Print
- Options include ASAP (most common), at night, on weekend, or on a specific time/date
- Report Output Locale
- Allows for a language customization (English, Spanish)
- Click Submit at the bottom of the page.
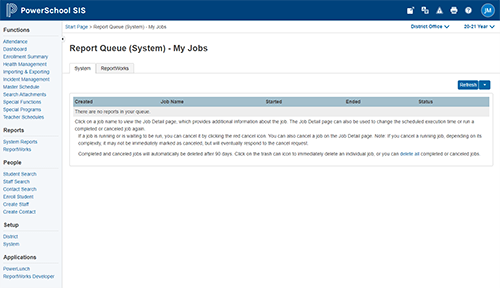
- After clicking Submit, you will be taken to your Report Queue
- Options include
- Use dropdown menu to make your selection
-
- Your requested report will be shown in your list of jobs; click View to access